How to Take Photos That Sell: Shot List + Common Mistakes
How to Take Photos That Sell: Shot List + Common Mistakes
Photos are the very first thing potential renters see when browsing boat listings. Research shows that listings with quality photos get up to three times more clicks and bookings. You do not need to be a professional photographer – but you do need a plan.
When Should You Photograph?
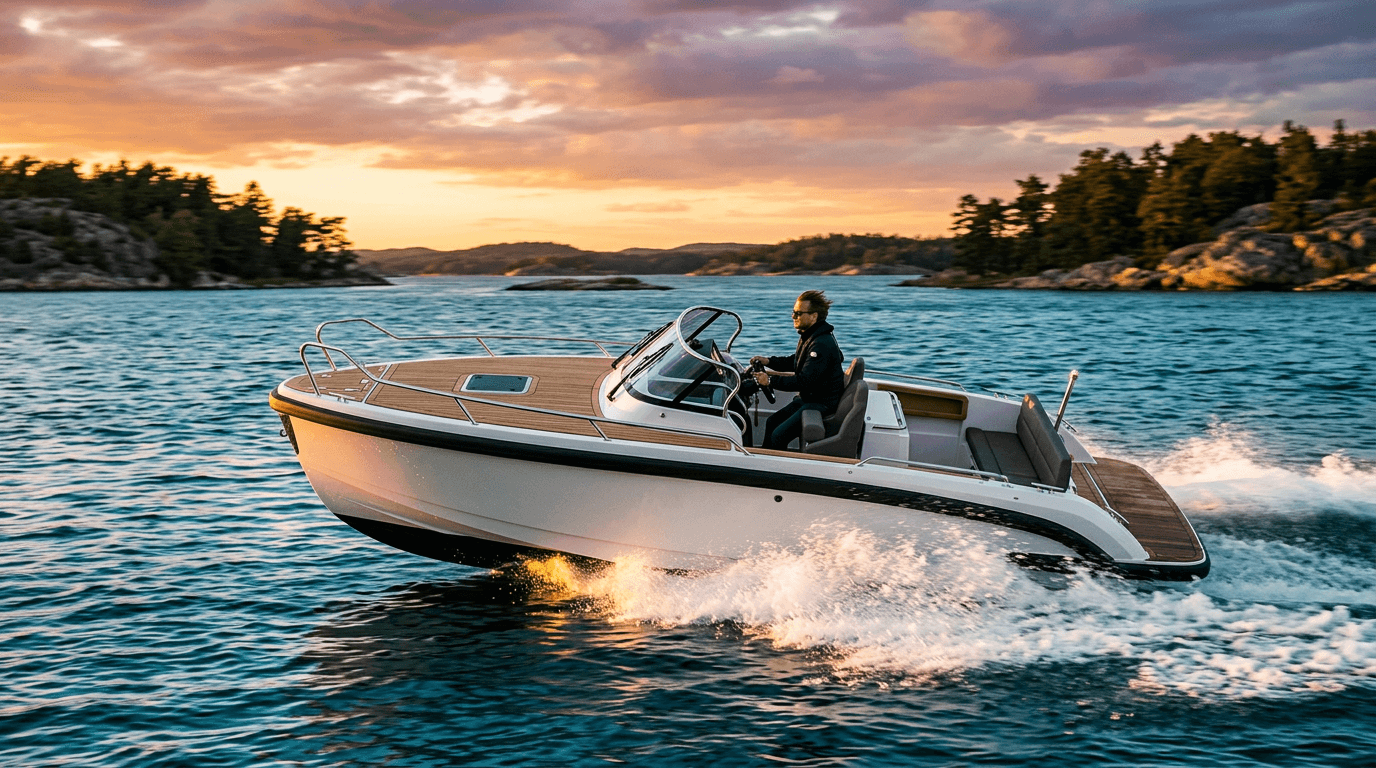
The golden hour rule: Take photos early in the morning (06:00–09:00) or late in the afternoon (17:00–20:00). The light is warm and soft, and you avoid harsh shadows.
Weather: Wait for a day with blue skies and a few clouds. Overcast weather produces flat, low-contrast light. Rain and grey skies make for dull images.
Clean and staged: Wash the boat, tidy the cockpit, remove personal belongings, and arrange cushions and equipment neatly.
The Complete Shot List
Take at least 15–20 photos. Here are the essential ones:
Exterior (5–7 photos)
- Boat seen from starboard side, slightly from the bow (hero shot)
- Boat seen from port side
- Bow straight on
- Stern with swim platform
- Boat from a distance, with surroundings visible
- Optional: Boat under way (have someone shoot from the dock)
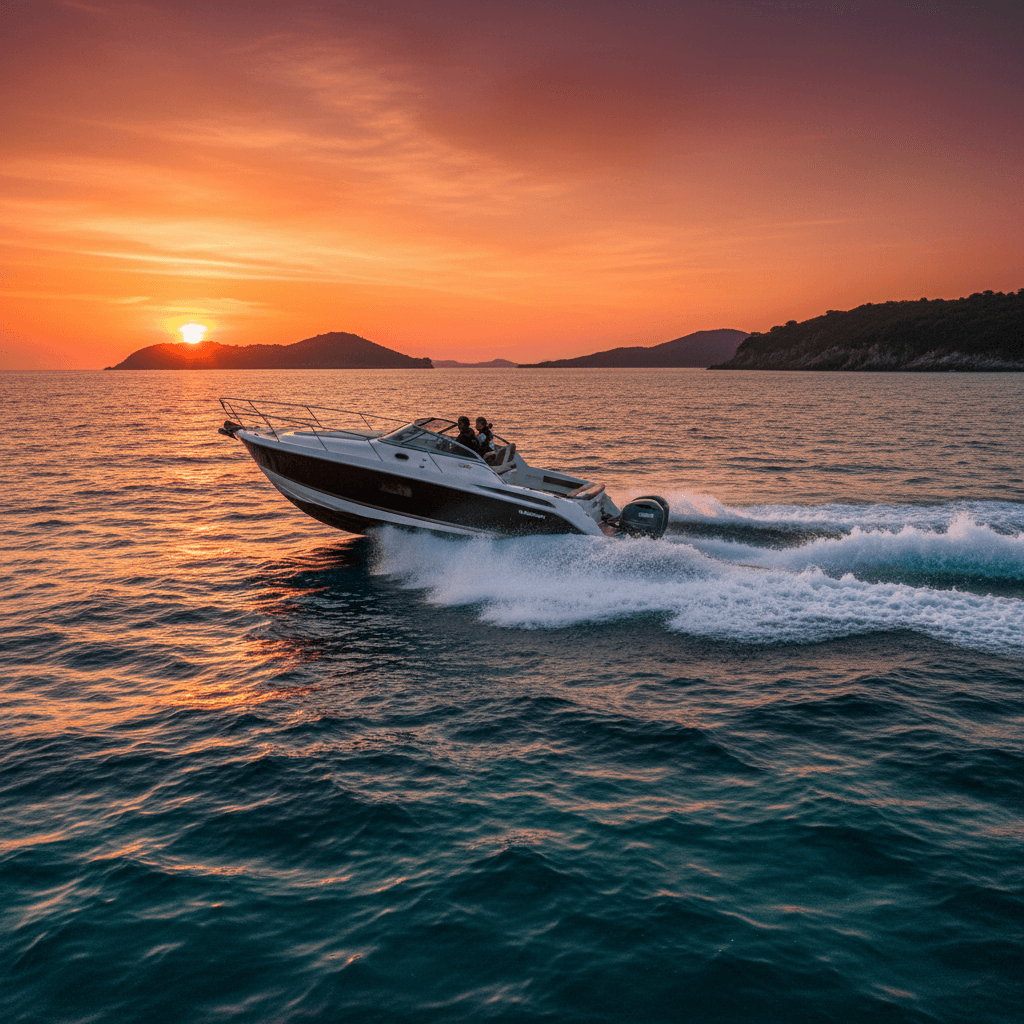
- Optional: Boat at sunset
Cockpit and Interior (4–6 photos)
- Cockpit from above (show all seating)
- Helm station with instruments
- Sun deck / foredeck
- Cabin / sleeping area (if applicable)
- Toilet / galley (if applicable)
- Detail of bimini top / sun shade
Equipment and Details (3–4 photos)
- GPS/chartplotter screen
- Life jackets neatly displayed
- Any extra equipment (water skis, fishing gear)
- Swim platform with ladder deployed
Lifestyle Photos (2–3 photos)
- People enjoying the cockpit (friends, family)
- Swimming from the boat
- Sunset from the boat
Phone vs. Camera
The good news: a modern smartphone camera is more than adequate. iPhones and Samsung Galaxy models from the last 3–4 years take excellent photos.
Tips for phone photography:
- Use the main camera (not ultra-wide unless photographing a cramped cabin)
- Wipe the lens with a soft cloth before you start
- Hold the phone horizontally (landscape) for most shots
- Tap the screen to set focus and exposure
- Take 3–4 shots of each subject and pick the best one later
- Avoid digital zoom – move closer instead
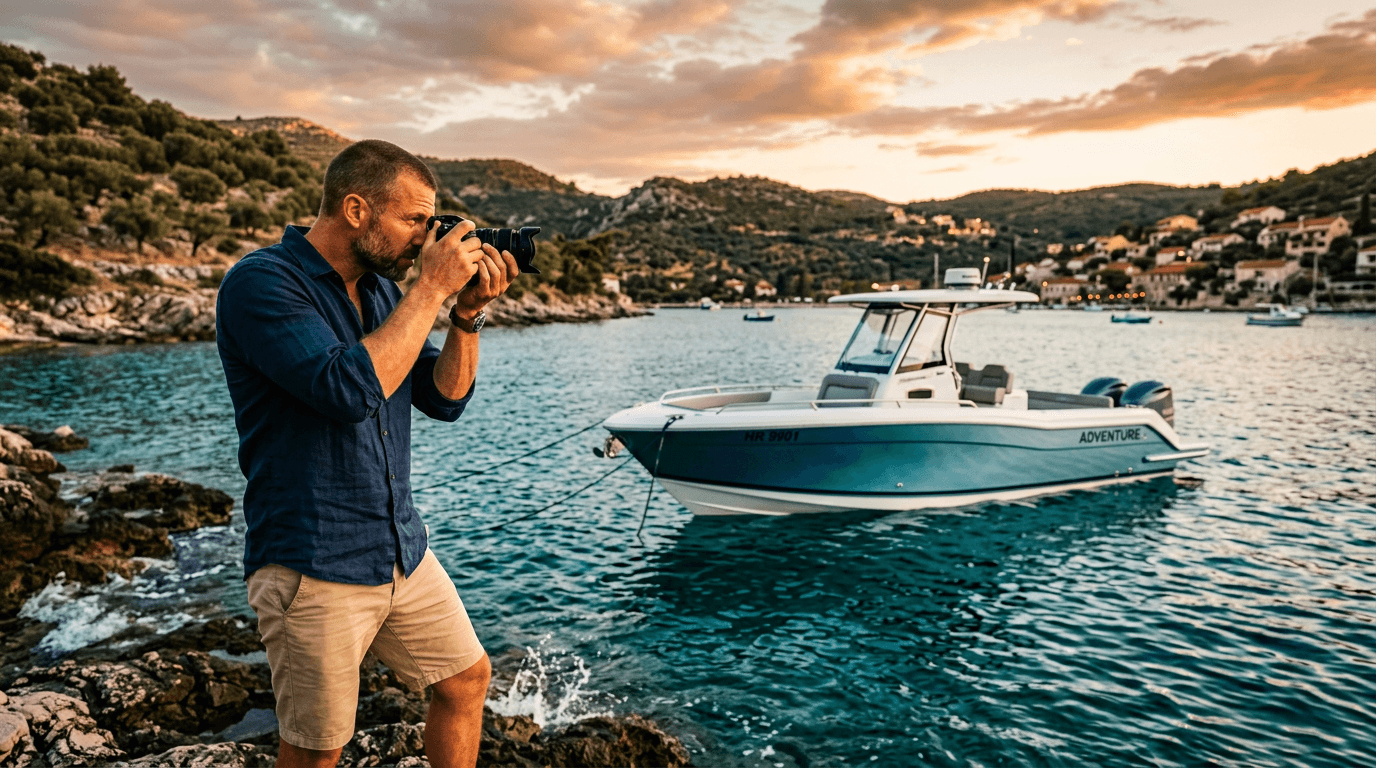
When to consider a camera:
- For larger boats (30+ ft), a mirrorless or DSLR can produce more polished results
- If you have a friend with camera gear, invite them along
Simple Editing That Makes a Big Difference
You do not need Photoshop. Use the built-in editing on your phone:
- Straighten the horizon – a tilted horizon is the most common mistake
- Increase brightness slightly – boat photos often come out a bit dark
- Boost contrast slightly – makes colours more vibrant
- Crop out distractions – bins, poorly maintained neighboring boats, etc.
The 7 Most Common Mistakes
- Too few photos. 3–4 photos are not enough. Aim for 15+.
- Messy cockpit. Remove carrier bags, personal items, and rubbish.
- Tilted horizon. Use the grid lines on your camera.
- Exterior-only photos. Show the interior! Renters want to see where they will sit.
- Bad lighting. Avoid midday and overcast weather.
- Too many selfies. Focus on the boat, not yourself.
- Winter photos. Use summer photos with blue water and green surroundings.
Photos + Text = Bookings
Good photos get people to click – but it is the description that closes the booking. Combine strong photos with a well-written listing. See How to Write a Listing That Gets Booked.
Ready to take your photos and publish your listing? Also read about pricing and list your boat on Ship O'Hoi.